Build your own gazebo: Inspiration for DIY enthusiasts

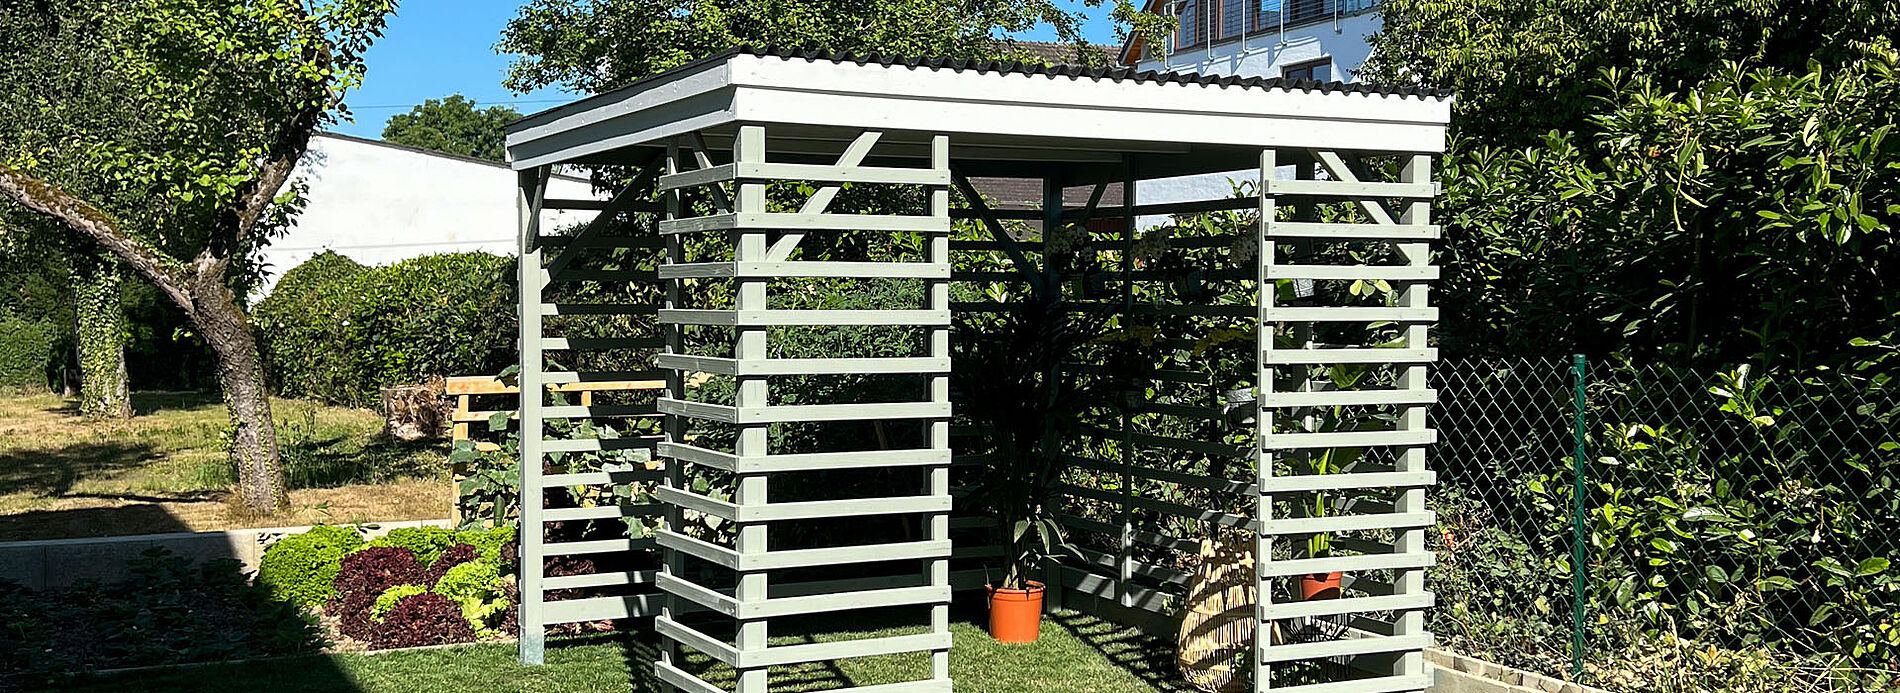
Everyone knows the corner in the garden that remains completely unused because it doesn't invite you to linger in the blazing sun. But that doesn't have to be the case - Fati and Besi from the Instagram account @fati.besi have the ideal solution for an oasis of well-being: A garden gazebo. The pair opted for a sustainable version made from waste wood that protects the environment and saves money at the same time. If you don't have any leftover wood, you can easily and cheaply buy the wood you need at your nearest DIY store. We show you step by step how to build a gazebo yourself and use the W 590 FLEXiO for colourful accents.

You will need the following to build your retreat, the gazebo:

  • Screws
  • Painter's fleece or plastic sheeting
  • Respirator mask
  • (Leftover) wood or posts and battens from the DIY store
  • Post support
  • Paint
  • Corrugated roof panels

Which wood?

Spruce wood is recommended for the construction of a gazebo as it is light and particularly strong. Otherwise, wood from pine, Douglas fir, fir, beech, oak and larch can also be used.

Step-by-step instructions for your wooden gazebo

Of course, you shouldn't rush into building the gazebo completely unprepared, a certain amount of preparation is necessary. Firstly, think about how big the gazebo should be and on which surface it should stand. Different posts are required depending on the surface.

Before you start building the gazebo, you should check with the regional building regulations to find out whether planning permission is required for your dream gazebo. There is no standardised nationwide solution here, so pay attention to the regulations of the respective federal state!

Step 1: Align correctly

Pavillon Schritt 1

Firstly, you need to ensure the correct alignment by precisely measuring the distances between the four posts and making sure that they are at right angles to each other. You can then attach the four corner posts to the chosen surface using the post holders.

Pavillon Schritt 1b

Firstly, you need to ensure the correct alignment by precisely measuring the distances between the four posts and making sure that they are at right angles to each other. You can then attach the four corner posts to the chosen surface using the post holders.

Pavillon Schritt 1c

Firstly, you need to ensure the correct alignment by precisely measuring the distances between the four posts and making sure that they are at right angles to each other. You can then attach the four corner posts to the chosen surface using the post holders.

Step 2: Building the frame from wood

Pavillon Schritt 2

When all four posts are secure and vertical, you can start with the wooden frame of the gazebo. At the top end of each post, connect them with horizontal wooden slats. Use a spirit level to check that everything is level.

Pavillon Schritt 2b

When all four posts are secure and vertical, you can start with the wooden frame of the gazebo. At the top end of each post, connect them with horizontal wooden slats. Use a spirit level to check that everything is level.

Step 3: Additional support

Pavillon Schritt 3

To give the entire wooden structure additional support, small wooden slats are now attached diagonally from all four posts. Beforehand, the ends are cut at an angle with the circular table saw. Then screw the post and the frame together using the cordless screwdriver and the screws.

Pavillon Schritt 3b

To give the entire wooden structure additional support, small wooden slats are now attached diagonally from all four posts. Beforehand, the ends are cut at an angle with the circular table saw. Then screw the post and the frame together using the cordless screwdriver and the screws.

Step 4: Construct side elements

Pavillon Schritt 4

As the gazebo has a large passage area on two sides, a kind of door is left out on both the front and one side wall. For this reason, small side walls can be built on the sides. At any distance from the post, a wooden batten is attached vertically and over the entire height to the upper wooden frame and at the bottom to the ground. Small wooden slats are fastened horizontally at even intervals to the posts and wooden slats. This creates a fence-like appearance.

Pavillon Schritt 4b

As the gazebo has a large passage area on two sides, a kind of door is left out on both the front and one side wall. For this reason, small side walls can be built on the sides. At any distance from the post, a wooden batten is attached vertically and over the entire height to the upper wooden frame and at the bottom to the ground. Small wooden slats are fastened horizontally at even intervals to the posts and wooden slats. This creates a fence-like appearance.

Pavillon Schritt 4c

As the gazebo has a large passage area on two sides, a kind of door is left out on both the front and one side wall. For this reason, small side walls can be built on the sides. At any distance from the post, a wooden batten is attached vertically and over the entire height to the upper wooden frame and at the bottom to the ground. Small wooden slats are fastened horizontally at even intervals to the posts and wooden slats. This creates a fence-like appearance.

Step 5: Close rear panel and small side panel

Pavillon Schritt 5

The rear wall and the side wall also need to be finished. If you wish, you can leave a kind of window free on one side. So you feel protected in the gazebo, but not locked in. Even if attaching the many wooden slats is a Sisyphean task, keep at it, it's worth it in the end. Always ensure uniformity, correct alignment and parallelism.

Step 6: Attaching the roof to the gazebo

Pavillon Schritt 6

All the best goes to the top! This of course refers to the roof. To protect the gazebo from rain and excessive sunlight, screw the corrugated sheets to the frame using the screws.


Pavillon Schritt 6b

All the best goes to the top! This of course refers to the roof. To protect the gazebo from rain and excessive sunlight, screw the corrugated sheets to the frame using the screws.

Step 7: Bringing colour into play

Pavillon Schritt 7

Once the gazebo is in place, it's time for the finishing touches. First, a little colour comes into play. To do this quickly, efficiently and evenly, it is best to use the WAGNER FLEXiO 590 paint sprayer. First lay out the floor with painter's fleece and when you spray the wall slats, always attach a cardboard box, tarpaulin or painter's fleece behind them. This will protect the meadow and all the other plants in your garden.

Pavillon Schritt 7b

Once the gazebo is in place, it's time for the finishing touches. First, a little colour comes into play. To do this quickly, efficiently and evenly, it is best to use the WAGNER FLEXiO 590 paint sprayer. First lay out the floor with painter's fleece and when you spray the wall slats, always attach a cardboard box, tarpaulin or painter's fleece behind them. This will protect the meadow and all the other plants in your garden.

Pavillon Schritt 7c

Once the gazebo is in place, it's time for the finishing touches. First, a little colour comes into play. To do this quickly, efficiently and evenly, it is best to use the WAGNER FLEXiO 590 paint sprayer. First lay out the floor with painter's fleece and when you spray the wall slats, always attach a cardboard box, tarpaulin or painter's fleece behind them. This will protect the meadow and all the other plants in your garden.

Step 8: Furnishing and decorating

Pavillon Schritt 8b

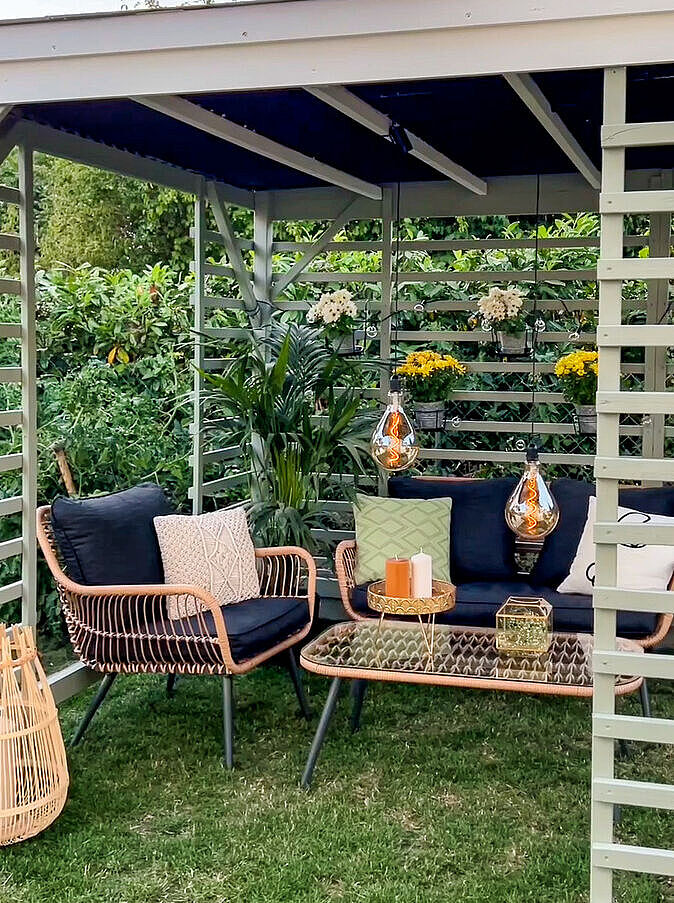
Almost there! Now the furnishings and of course the decoration of the gazebo must not be missing. A small seating area and a table as well as fairy lights, plants, candles and everything that makes the garden gazebo cosy can now move in.

Pavillon Schritt 8c

Almost there! Now the furnishings and of course the decoration of the gazebo must not be missing. A small seating area and a table as well as fairy lights, plants, candles and everything that makes the garden gazebo cosy can now move in.

Garden idyll you can touch: The result of our gazebo

Summer can come! Siesta in the shade, breakfast or barbecue outdoors, but protected from the sun. Or simply relax in your cosy retreat. The self-built wooden gazebo is the perfect place in the garden for all of this. By the way: If decorations and furniture are stored, the gazebo is also winter-proof with the right coat of paint.

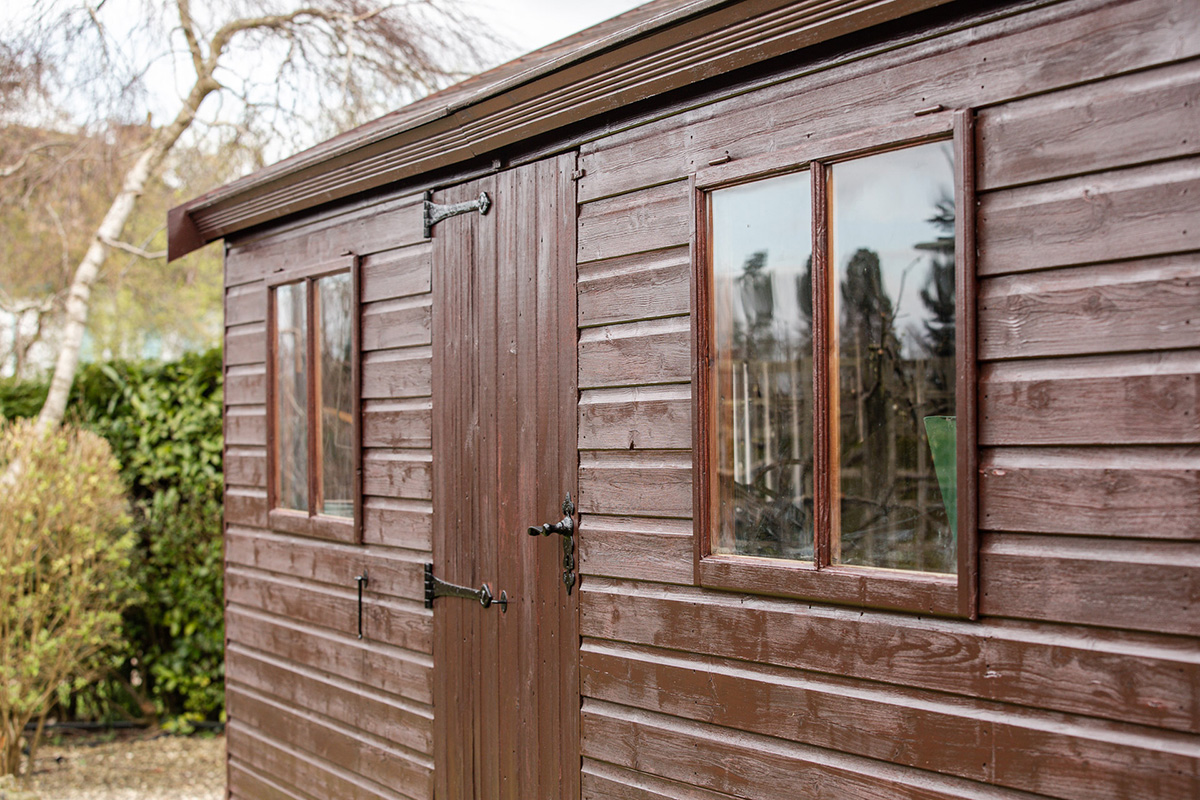
Would you rather repaint your garden shed?

If there is no space in your garden for a self-built gazebo because you already have a cosy garden shed. Then you can also give your garden shed a new coat of paint. The following article shows you how you can easily redesign your garden shed:

Painting a garden shed
W 590 product 03 update gelbton

Universal Sprayer W 590 FLEXiO

If you are planning larger projects and don't just want to spray interior wall paint, you should use the W 590 spray system: With two spray attachments - for thick and thin materials - you are ideally equipped for the application of wall paints as well as varnishes and glazes.

Product
Tipps tricks carina slider

Tips and tricks with Carina

We have summarised more tips on spraying paints and glazes for you in our tips and tricks with Carina.

Apply glazes and lacquers correctly
2429184 Levaro powerbrush 18V application shot close flower ground

LEVARO PowerBrush 18V

Simplify your cleaning routine with the LEVARO PowerBrush 18V multifunctional patio cleaner - the intelligent solution for uncomplicated maintenance and basic cleaning of your outdoor area.

LEVARO